This weeks tutorial was inspired by two of my favorite Youtubers- Drew at cardofmyeye and starofmay. They both did very similar cards and I just loved them both. So much, in fact that I scrap lifted and combined the 2 designs in this weeks card. Now I did not use my scraps for this card but it is a great way to use them up. You'll see what I mean.
Before we get started let's gather our materials and tools:
- adhesive
-scissors
-Paper trimmer
- label punch or die
- corner rounder (the chomper or Fiskars squeeze punch if you got it.)
- ink blender tool and distress ink ( I used Walnut Stain)
- patterned paper-approx 4-8 coordinating patterns (I used the Madeline line by Prima)
- coordinating card base (I used Lagoon by Bazzill)
-White cardstock
-seam binding or other soft ribbon
- flowers or other small embellishments
You can follow along with this video tutorial, or you can follow the written instructions below.
Step 1:
Trim down your patterned papers into strips ranging in widths of 1/4" up to 3/4".
Step 2:
Trim white cardstock to a 3 3/4" x 5" rectangle and cover with adhesive.
Step 3:
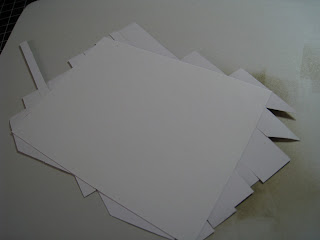
Starting on the top left hand corner, place the strips of patterned paper over the white rectangle, letting the excess hang off the edges. Line up each strip against the one before it until the entire surface is covered.
Step 4: Trim the excess papers around the edges leaving a beautiful diagonally stripped pattern.
Step 5:
Round the edges of the base card and the patterned rectangle
Step 6: ink the edges of the patterned rectangle and the card, and attach the rectangle to the top of the card.
Step 6: Cut a small slit at the upper right hand corner and tie on a length of seam binding. Can tie a bow or a simple knot.
Step 7: Using your label punch or die, punch out a labeled image and rub on or stamp sentiment. Ink Edges and attach to the card. Decorate with any of your favorite embellishments.
Wasn't that fun! Now tell me what you thought or show me what you did.
Can't wait to see your creations!
Can't wait to see your creations!


Hey Jessi!! Congrats on your new blog...well done!! I love your first tutorial and am definitely going to give it a try...great inspiration.
ReplyDelete