It seems settling in has taken me considerably more time than I expected, but good news is, I'm back and with a new project!
This project comes from Pinterest, courtesy of Frannie Dresham, the original pinner. She found this great project on Twitter @FrugalDana - posted on her twitter on 2/10/2012.
I assumed this came from her blog, http://www.frugalfrontier.com (which is awesome), but I did not find any references or directions - truly my favorite kind of project....one I get to figure out myself. :) SO I gave it a shot - not too difficult, I think.
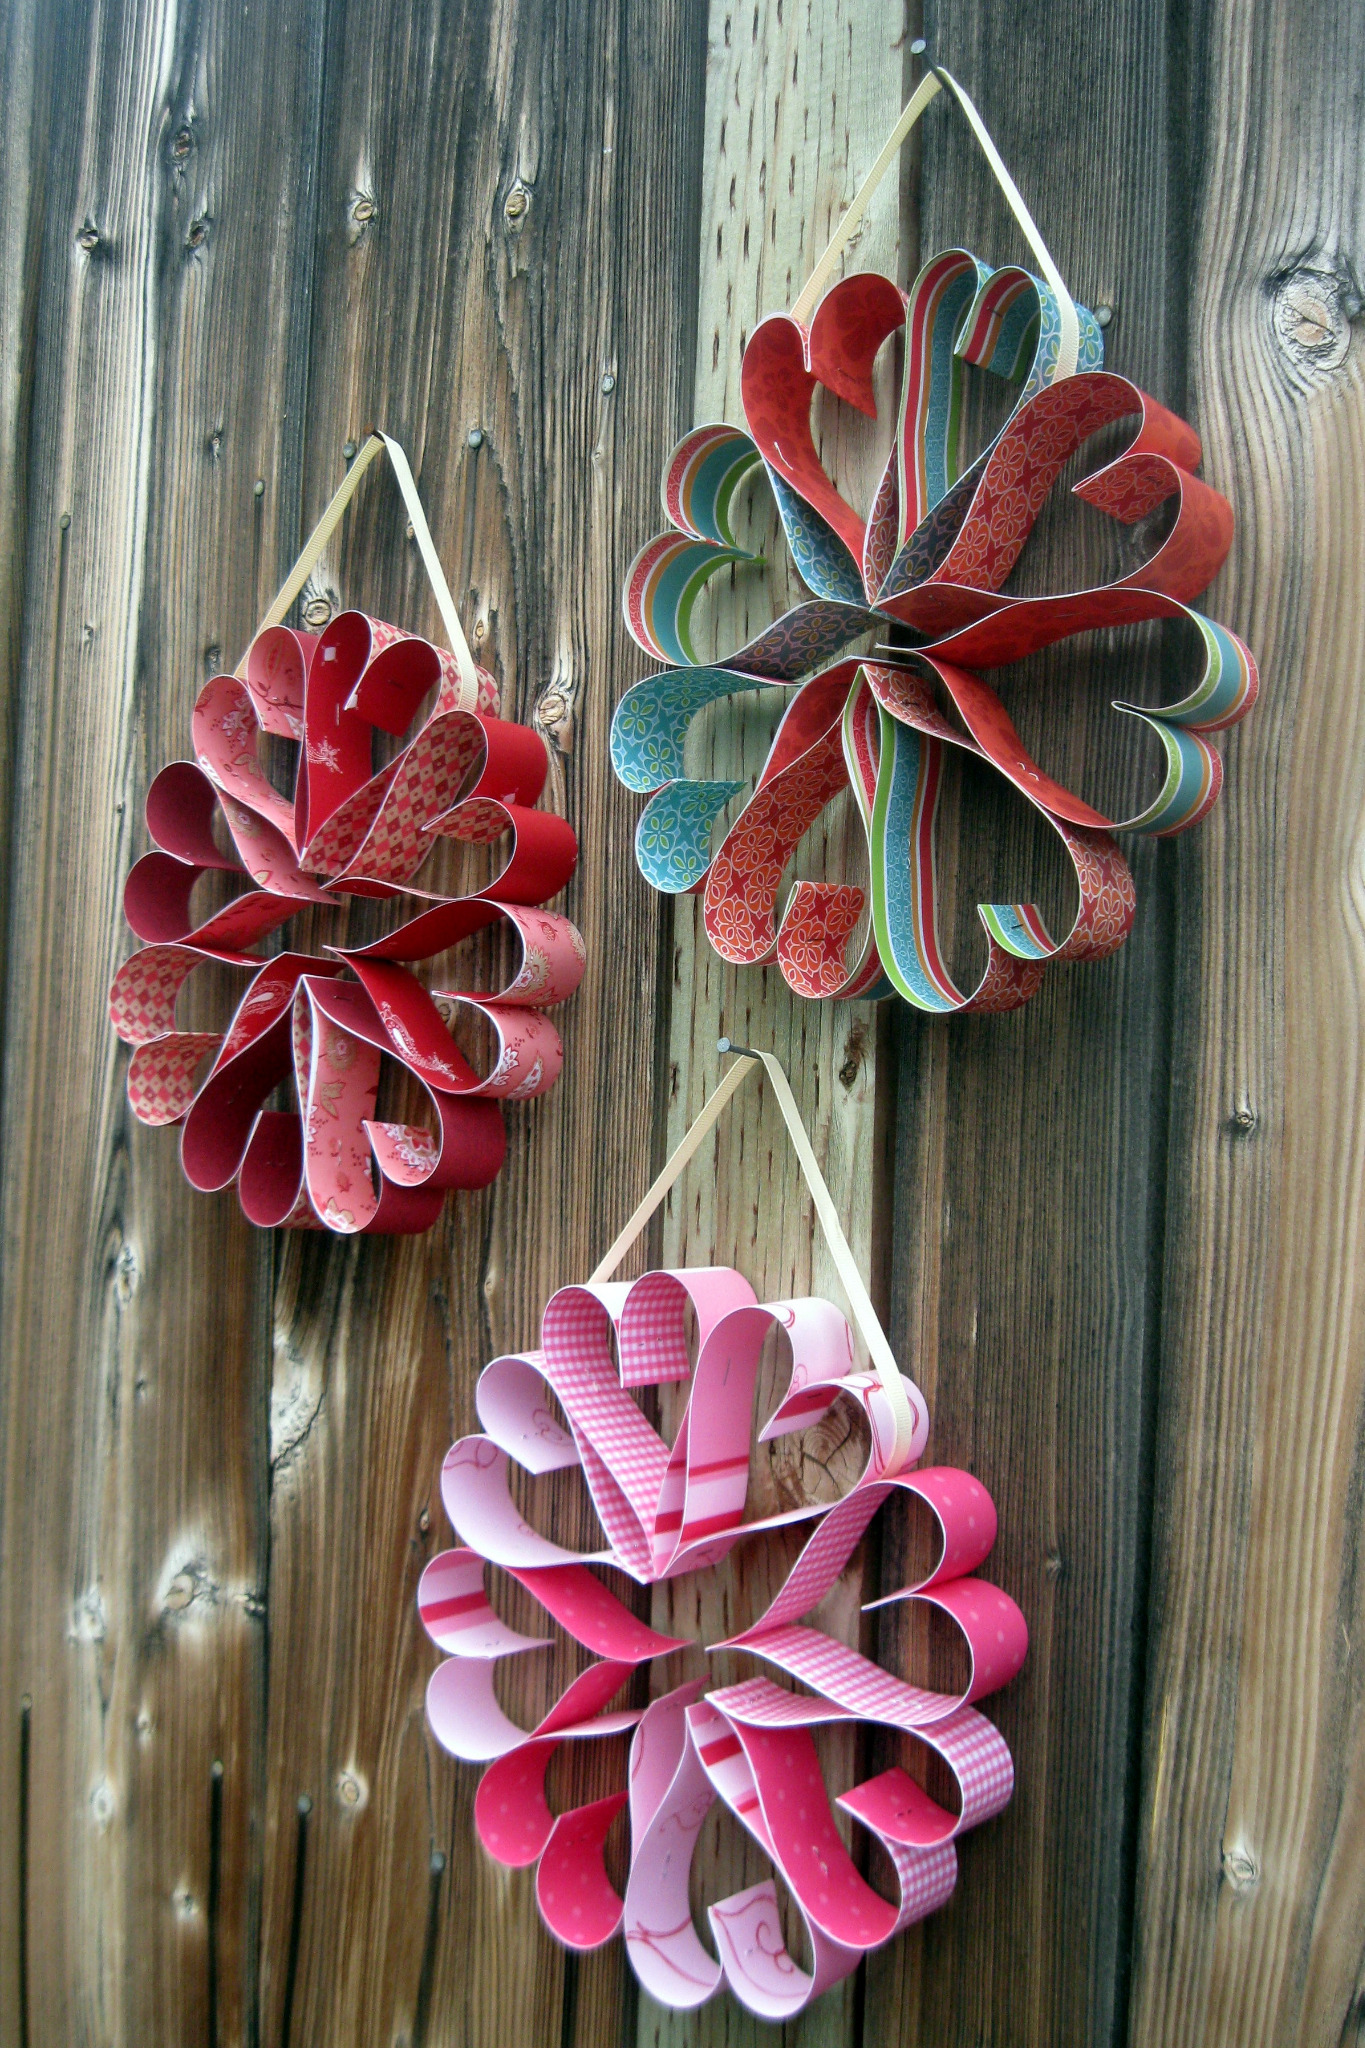
The Wreathe itself is made of 8 paper hearts. I've seen similar hearts in other projects I've seen on Pinterest so that was easy to figure out. Now I needed to figure out how to cut the paper and the hanger, and then how to attach it all. No problem!
Here's what I did:
Supplies:
8 strips of cardstock - 12" x 1 1/2"
Tiny Attacher (or stapler, glue dots, sticky strip, tacky tape or other strong adhesive)
1 piece of ribbon, 12" long
bone folder
Step 1: fold a strip in half. If you are using a 2 sided cardstock, you want the inside of the fold to be the pattern or color you want on the outside of the heart. Make sure to use your bone folder enforce your fold lines.

Step 2: Staple the folded end shut, just above the crease line.

Step 3: open your folded paper and pull the tails to a close, the inner pattern or color should now be showing on the outside, and you should see the makings of your heart.

Step 4: Staple the tails closed, securing the heart closed.

Step 5: Repeat for the 7 remaining strips until you have 8 hearts.

Step 6: Start constructing your wreathe. Place the hearts side by side, matching the tails evenly at the bottom, and stapling the sides of each heart to the next one. The staple will go approximately in the middle.

Step 7: Attach the hanger - before you close the wreathe (or, you can add the hanger when you first start connecting the hearts). Staple one end of the ribbon to one side of a heart. then wrap the ribbon over top of the same heart and attach to the middle of the other side, leaving a loop long enough to hang.

Step 8: Continue attaching remaining hearts until your wreathe is complete.

Isn't it pretty? You can either stop here, or...

You can step it up a notch by adding an embellishment to the front of your wreathe. Here I just diecut a heart - 2 1/2 inch heart from George on my Cricut - and glued it to the center using Beacons 3 in 1 glue.

You can also watch me make this super easy project here:
I would love to see your projects and how you make this simple, but sweet wreathe your own.
If you'd like to see more projects form Pinterest, let me know or leave me suggestions. I'd love to know what you think!
Happy Crafting!
Jessi Myers
xoxoxo
No comments:
Post a Comment